
Practical guide
From photo to a chart you can actually stitch.
A good conversion is not the one with the most pixels or colours. It is the smallest clear set of stitch decisions that preserves what you love about the image.
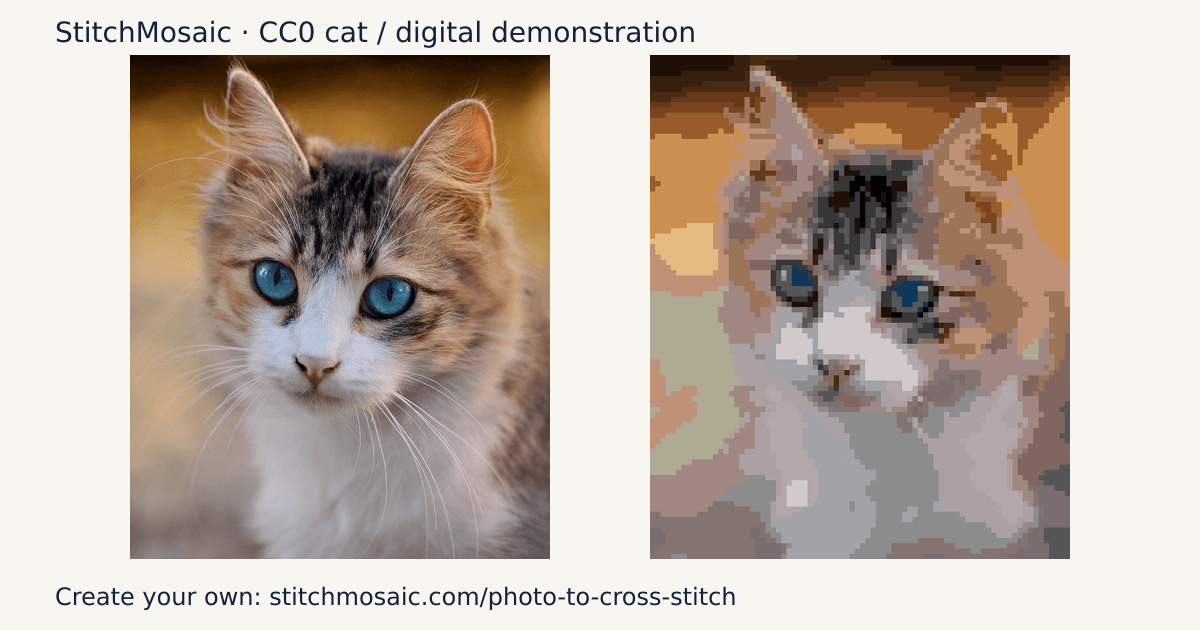
Step 1
Choose a readable photo
Start with one clear subject, useful contrast and enough light. Tiny faces and busy backgrounds lose information when reduced to a stitch grid.
Step 2
Crop before adding stitches
Pick the finished aspect ratio and place the focus on the feature that matters. Removing empty background gives the subject more stitches.
Step 3
Balance grid and fabric
More stitches preserve detail but increase time and chart pages. Use the size calculator to translate stitch dimensions into finished inches.
Step 4
Reduce colours deliberately
Begin at 24 colours. Compare lower and higher counts at the same grid. Fewer colours can simplify the supply list; more can preserve shading but may add small patches. Neither restores missing photographic detail.
Step 5
Inspect confetti
Isolated stitches can add sparkle or create needless thread changes. Compare the measured cleanup preview, apply it only if the subject remains readable, and undo if needed.
Step 6
Print and test
Choose A4 or US Letter, check orientation, print at 100%, verify the legend and stitch a small colour area before committing to the whole project.
For pets, follow the photo and background preparation guide. Use the same-photo palette comparison to judge colour choices. Save a free Project backup before paying for your own printable exports.